If you’ve ever wished you could skip the grind of official WoW servers, mess around with custom loot rates, or relive Wrath of the Lich King without paying a monthly subscription, you’re not alone. I’ve set up three small private servers over the last six years to play with college friends who don’t have time for the current expansion’s endgame grind, and it’s way more approachable than most people think. This guide walks you through every step of how to make a world of warcraft private server, from picking the right expansion to keeping your server secure for the people you invite. You don’t need advanced coding skills to pull this off, as long as you’re comfortable following step-by-step setup instructions and troubleshooting small issues as they pop up.
Pre-Requisites to Make a World of Warcraft Private Server
Before you start downloading any files, you need to get a few key pieces in place to avoid wasted time later. The first thing to decide is which expansion you want to run, because all other choices will flow from that decision. Expansion selection will determine what server core you can use, what client files you need, and what features are available to you. For example, if you want to run a Vanilla WoW server, AzerothCore is the most stable supported option, while TrinityCore works better for newer expansions from Wrath of the Lich King up to Dragonflight.
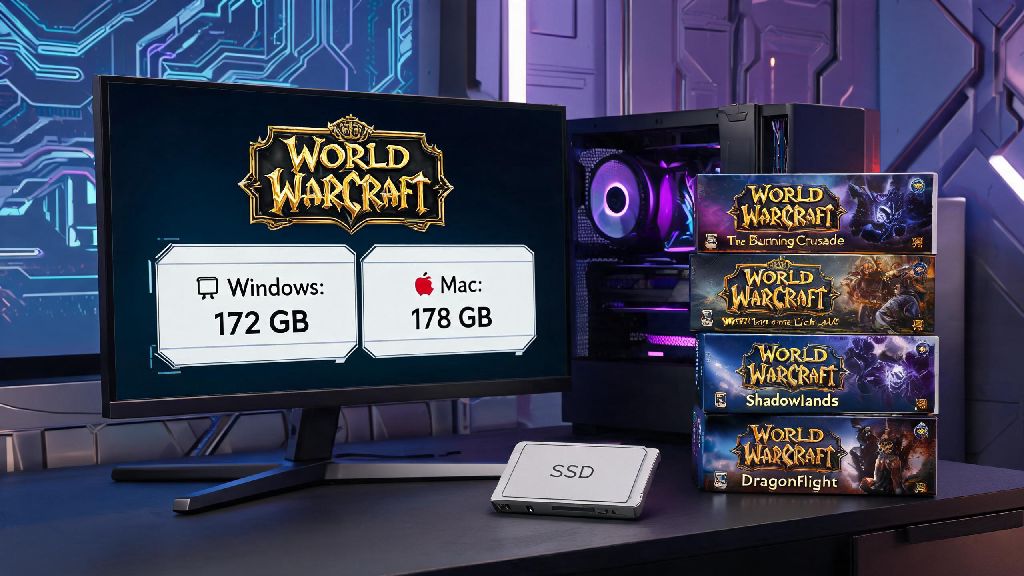
You also need to account for hardware, depending on how many players you plan to host. For 10 to 20 concurrent players, a basic setup with a 4-core CPU, 8GB of RAM, and a 100GB SSD is more than enough. If you want to host more than 20 players, or add lots of custom content, you’ll want to upgrade to a VPS with higher specs instead of using a home computer, to avoid lag and crashes. It’s also critical to remember the legal rules around private servers first: You cannot distribute Blizzard’s game files or charge players for access to your server, as that violates copyright law and will lead to your server being shut down.
- A legal copy of the World of Warcraft client for the expansion you want to run (avoid pirated versions that may contain malware or corrupted files)
- A server core that matches your chosen expansion (AzerothCore and TrinityCore are the most popular, well-supported open source options)
- Either a dedicated home computer with consistent high-speed internet or a low-cost VPS if you want players outside your home network to join
- Basic familiarity with command prompts or terminal, though most pre-built setup packages eliminate the need for complex coding
Step-by-Step Basic Server Setup
Once you have all your pre-requisites lined up, the setup process takes between 1 and 3 hours depending on your internet speed and experience level. If this is your first time trying to make a world of warcraft private server, we recommend starting with a pre-built repack instead of building the core from scratch. Repacks come with all the files you need pre-configured, so you can get your server running in less than 30 minutes without touching any code.
First, install your chosen server core or repack to your dedicated computer or VPS. Next, import the game database: this is the file that contains all quest, item, and NPC data for your chosen expansion. Always download databases from trusted community sources to avoid corrupted files or broken content that will crash your server mid-playthrough. Then configure your network settings: if you're only playing with people on your home wifi, you just need to use your local IP address to connect. If you want friends from other locations to join, you'll need to port forward 3724 and 8080 on your router, or use a VPS that already has those ports open.
Don’t forget to set up your admin account before letting other players join. I skipped this step on my first server and spent two hours panicking because I couldn't adjust the XP rate when my friends wanted to level faster. Most server cores have a simple command you can run in the terminal to create a GM account with full access to adjust settings, spawn items, and ban disruptive players if needed.
Customizing Your Server to Fit Your Playstyle
The best part of running your own server is that you can tweak almost every setting to match what your group wants, instead of being stuck with the rules of official servers or existing public private servers. When you make a world of warcraft private server, you can even disable features you don't like, such as flying mounts in Burning Crusade or the dungeon finder tool in Wrath of the Lich King, to replicate the exact experience you remember from the original release.
XP, loot, and gold rates are the most common first adjustments for new server owners. If you and your friends only have a few hours a week to play, setting XP rate to 3x or 5x lets you get to endgame content without spending 40 hours leveling. You can also adjust drop rates for rare mounts and gear, so you don’t have to run the same raid 20 times just to get one item you want. There are thousands of pre-made custom mods you can download for free from community forums, from quality of life changes like faster mount speed to full custom storylines that have nothing to do with official WoW lore.
That said, don't install too many mods at once, because conflicting mods can cause crashes that are hard to troubleshoot. I always recommend adding one mod at a time and testing it for a few days before adding another, so you know exactly what's causing issues if something breaks. You can also set custom rules for your server: if you want it to be a strict RP server, you can disable PvP outside of designated zones, or if you want a chaotic PvP server, you can turn on world PvP for all zones and increase loot drops from player kills.
Keeping Your Server Secure and Stable Long-Term
A lot of new server owners shut down after a few weeks because they run into security issues or constant crashes that they don’t know how to fix. These issues are almost entirely avoidable if you take a few basic precautions from the start. Never share your server's IP address publicly if you're only running it for friends and family. Posting it on public forums will attract DDoS attacks and trolls who will try to crash your server or exploit bugs to ruin the experience for other players.
If you do want to run a public server later on, invest in a DDoS-protected VPS and recruit a small admin team to moderate chat and ban bad actors. You should also back up your database at least once a week: if your server crashes or gets corrupted, you won't lose all your players' progress. I set up automatic daily backups for my servers, and it saved me once when a power outage corrupted my main database file, so I only lost a few hours of progress instead of months of playtime for my friends.
You should also update your server core regularly, as developers release patches that fix bugs and close security exploits. You don't have to update every week, but checking for updates once a month will keep your server running smoothly. If you're running the server on a home computer, don't use that computer for other high-resource tasks like gaming or video editing while the server is running, because it will cause lag for everyone connected.
Setting up your own WoW server is a fun, low-cost way to play the game exactly how you want to, without having to follow Blizzard's update schedule or deal with toxic players on official servers. You don't need a huge budget or advanced tech skills to pull it off, as long as you follow the steps we outlined and take basic security precautions. Whether you want to relive your favorite old expansion with high school friends or test out custom content you've been brainstorming for years, learning how to make a world of warcraft private server is a rewarding project that can give you hundreds of hours of fun. Start small with a server for 5-10 people first, and you can always scale up later if you decide you want to open it up to more players.